Cardboard is the cheapest material in the workshop and the fastest to cut, which is exactly why operators treat it casually. It is also the material that produces the ugliest failures, because almost nothing about it is stable.
Physically, cardboard is mostly air held in a paper structure. There is very little material to remove, so it cuts at low energy and high speed compared with wood or MDF. That is the good news. The problems come from three properties that no setting can change.
It absorbs moisture. Paperboard and corrugated board take up water from the air, so the same file and the same settings can cut cleanly on Monday and smoulder on Friday. A damp board needs more energy to cut through, and extra energy on a damp board produces char rather than a clean edge.
Its thickness is a structure, not a measurement. Corrugated board is not "thick paper". It is a liner-flute-liner sandwich, and the flute cavities change how heat moves, how the edge looks and how strong the finished box is. Cutting across the flutes is a different operation from cutting along them.
It keeps burning after the beam has moved on. Cardboard is the material most likely to be left glowing at the cut edge. That single property is why the fire rules later in this article are not optional.
Both are sold as "cardboard", and they behave differently enough that they should be treated as two materials.
The rule for anything laminated, coated or foil-faced is simple: if the supplier cannot state what the coating is, the board does not go on the machine. Chlorinated films release corrosive gas that damages optics and harms operators, and reflective foil produces unpredictable cuts.
In woodworking or signage, the cut edge is mostly cosmetic. In packaging it is functional: it becomes a glue flap, a slot wall, a fold line or a fit surface. That changes what "good" means.
The most common packaging-specific problem is fit. Every cut removes kerf, so a tab cut to nominal size comes out undersized and a slot comes out oversized. On a 3 mm board, that difference is enough to turn a firm press fit into a loose joint that needs glue. Tab-and-slot designs therefore need kerf compensation applied in the drawing before the file is nested, and the amount has to be measured on the actual board rather than assumed from a previous job.
Edge colour matters as much as fit. Too much energy produces a browned or blackened edge that marks hands, marks the product and looks unacceptable on retail packaging. Too little energy leaves a fuzzy, fibrous edge that will not glue cleanly. For board, speed is the main control: a fast pass with modest energy gives a narrow, sealed edge, while a slow pass cooks the edge and spreads the browning.
Flute direction belongs in the nesting decision, not in the settings. A cut across the flutes opens the flute cavities along the edge, which weakens the wall and produces more dust; a cut along the flutes leaves a cleaner line. Where a design allows it, orienting parts so that the main cut runs along the flutes gives a better edge and a stronger box.
A laser is a cutting and marking tool. It is not a creasing tool, and confusing the two is the source of most failed packaging prototypes.
The last two rows are where laser earns its place in packaging. A printed mockup that matches the production artwork, cut on the same day it was designed, is worth more to a brand owner than a cheaper box that takes two weeks and a die.
Laser cutting removes tooling from the equation. That makes it the right choice when the design is still moving, when the order is small, when the shape has complex internal cutouts, or when a printed sheet needs to become a physical pack for approval. Change the file, cut again, and the iteration costs a sheet of board and a few minutes.
Die cutting wins on different ground. At volume, the cost per unit falls because the tooling cost is spread across thousands of pieces, the creasing is properly compressed rather than weakened, and the throughput of a die press is far higher than a laser head tracing every outline. For a folding carton that will run for months, a die is usually the correct production tool.
The practical answer for most converters is a hybrid: laser for the prototype and the customer approval, die cutting for the production run. It is worth noting that the two are not separate worlds. Die boards themselves are laser-cut, which is why die-making shops run laser machines alongside their presses.
Every material in a laser workshop can burn. Cardboard is the one that most often does, because it ignites easily, it is stored in bulk next to the machine, and its cut edge can keep glowing after the head has moved away.
Three specific mechanisms matter.
Edge smouldering. A slow pass leaves enough heat in the corrugated edge that the paper continues to char without flame. It looks finished, and twenty minutes later there is a brown line spreading across the box. Taking the part off the bed does not stop it; putting it in a bin with other offcuts can start a bin fire.
Ember injection into the extraction. Air assist does its job by pushing smoke away, and it will push embers with it. Corrugated dust and small fragments travelling into a duct can settle and ignite inside the duct or in the filter. Extraction systems need cleaning on a schedule, not when someone remembers.
Fuel load in the bed. Offcuts, paper dust and cardboard fragments accumulate under the honeycomb. Combined with a hot spot, that is the classic laser fire.
The operating rules are unglamorous and effective: never leave a cardboard job unattended, keep air assist moderate rather than maximum, inspect the bed and the waste bin after every job rather than at the end of the shift, keep the duct and filter clean, and keep a fire watch on the finished parts for a few minutes before they go into storage.
A test joint is the single highest-value habit in this list. It takes one small cut, costs a scrap of board, and catches the kerf error before a hundred blanks are wrong.
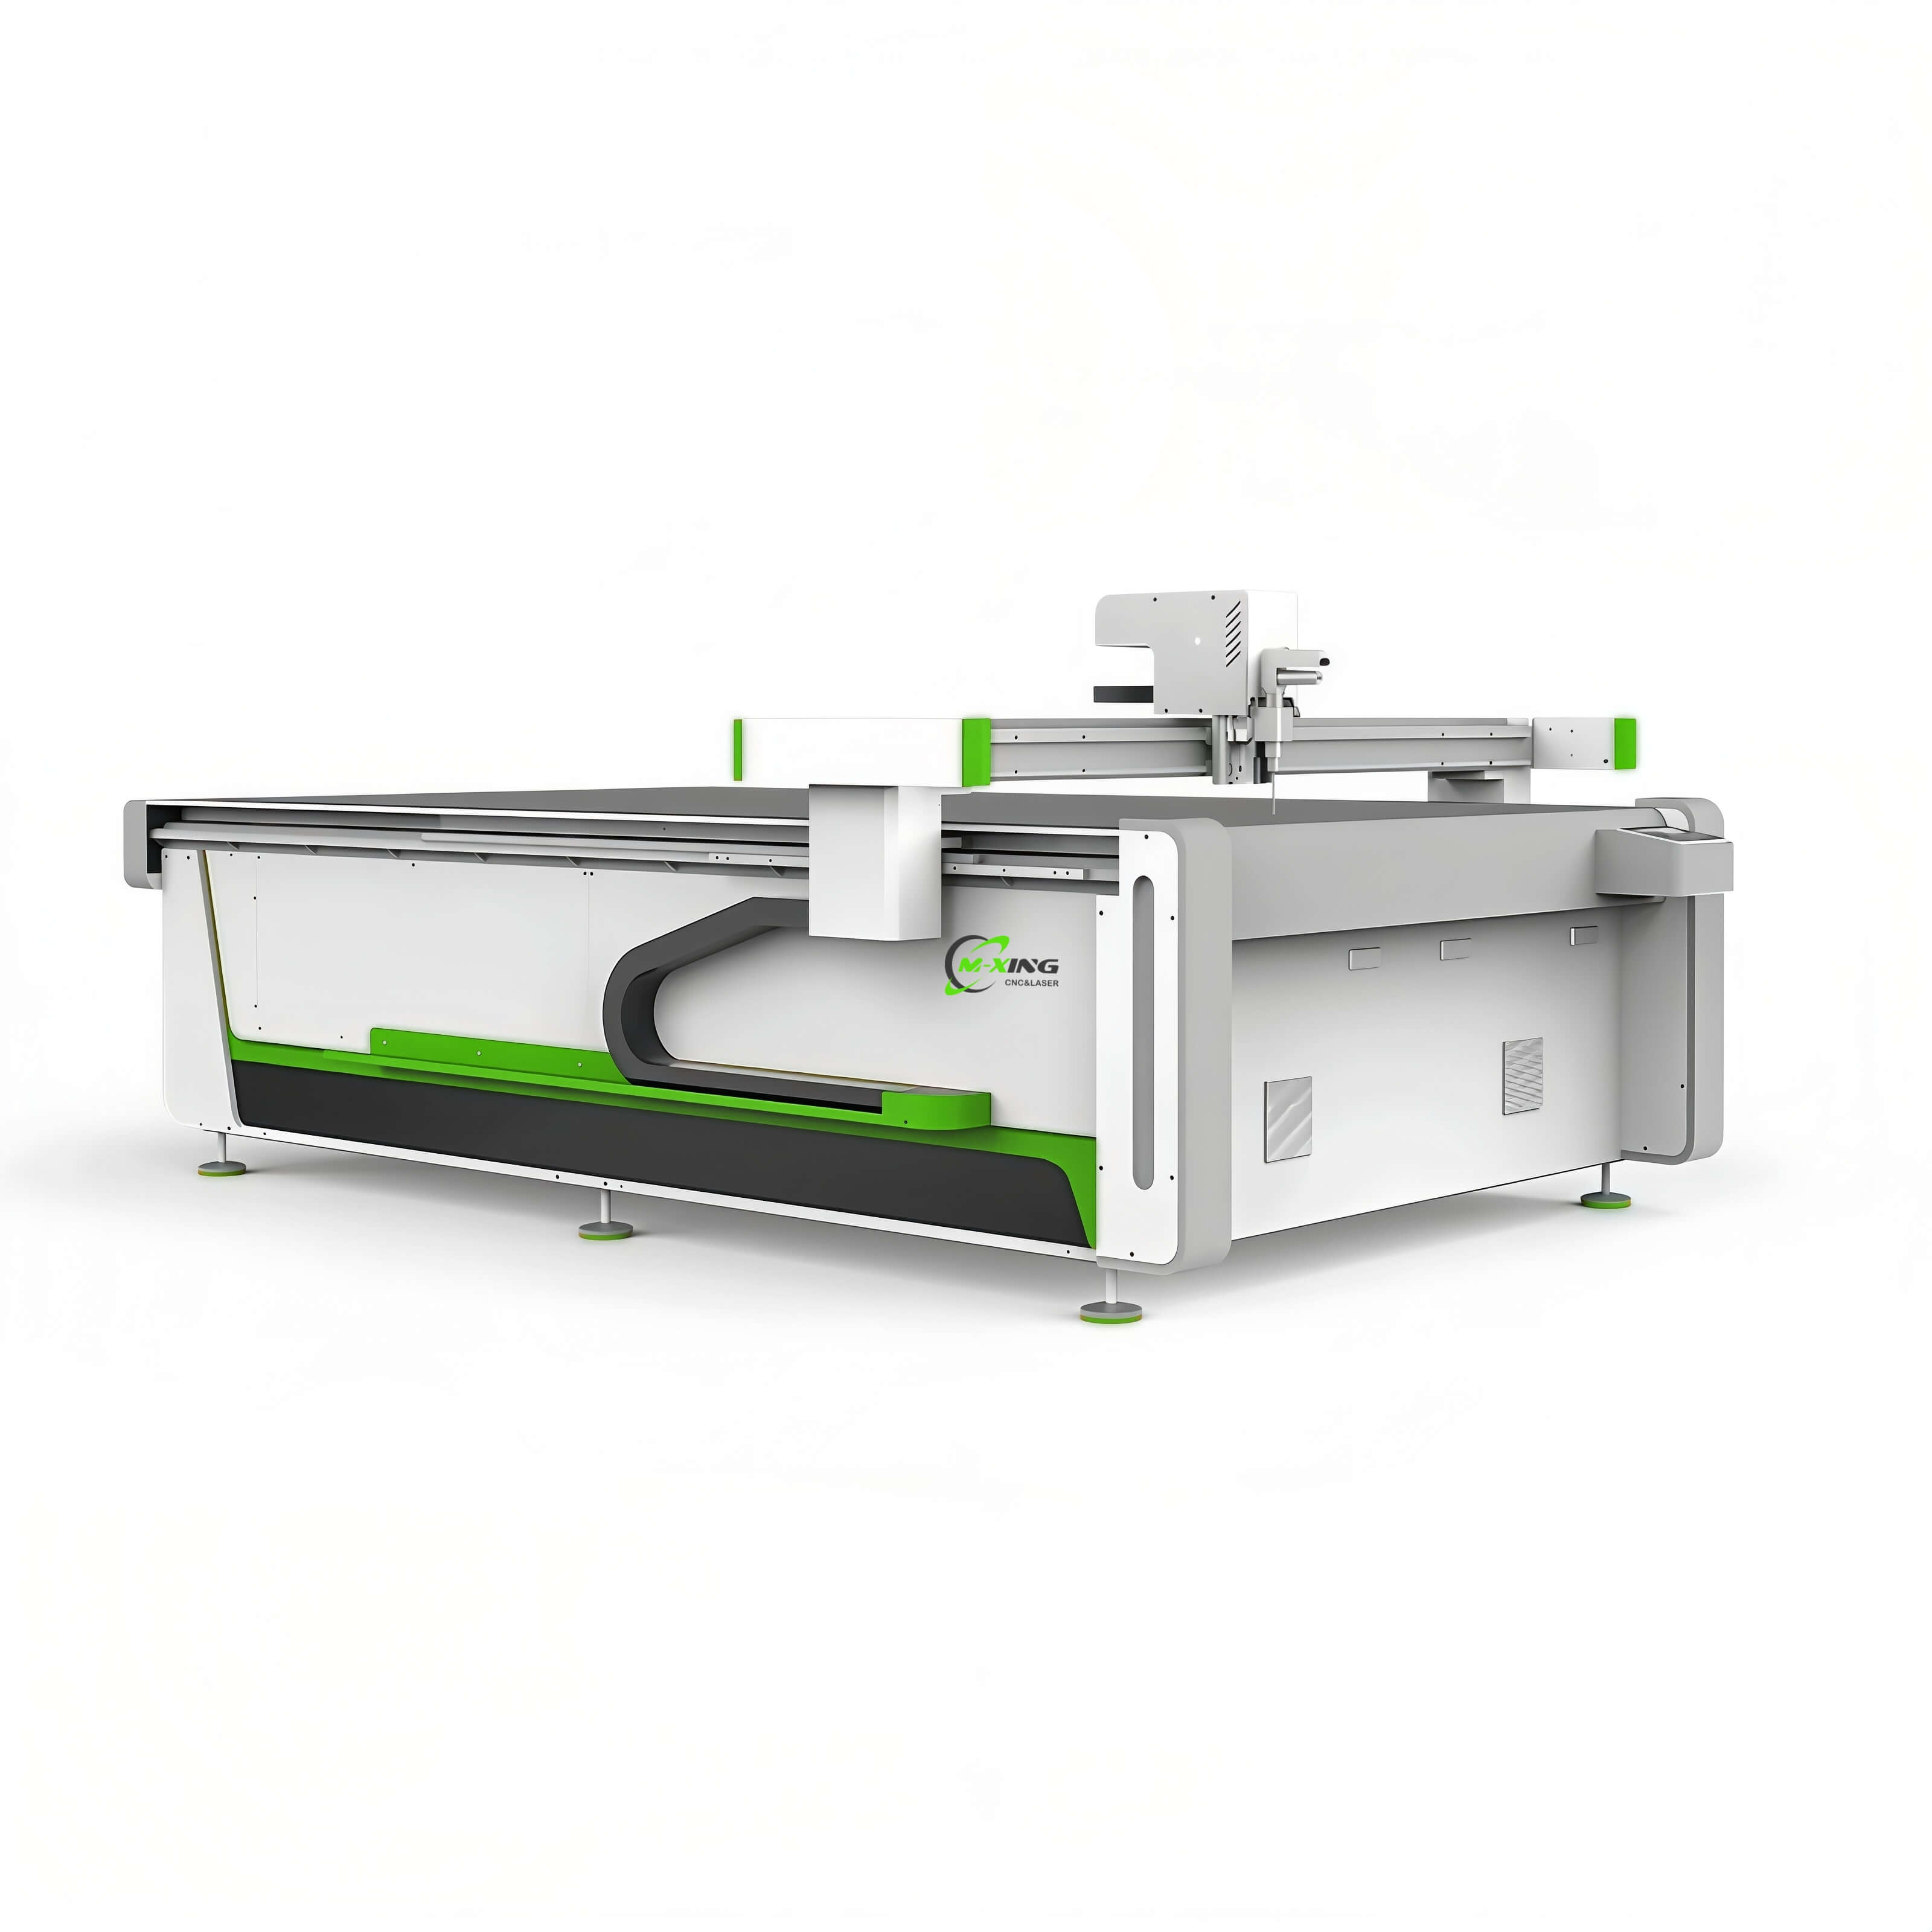
Cardboard does not need power. It needs speed, a large flat bed, and motion that holds accuracy while moving fast, because a box blank is mostly outline and the head spends its time travelling rather than cutting.
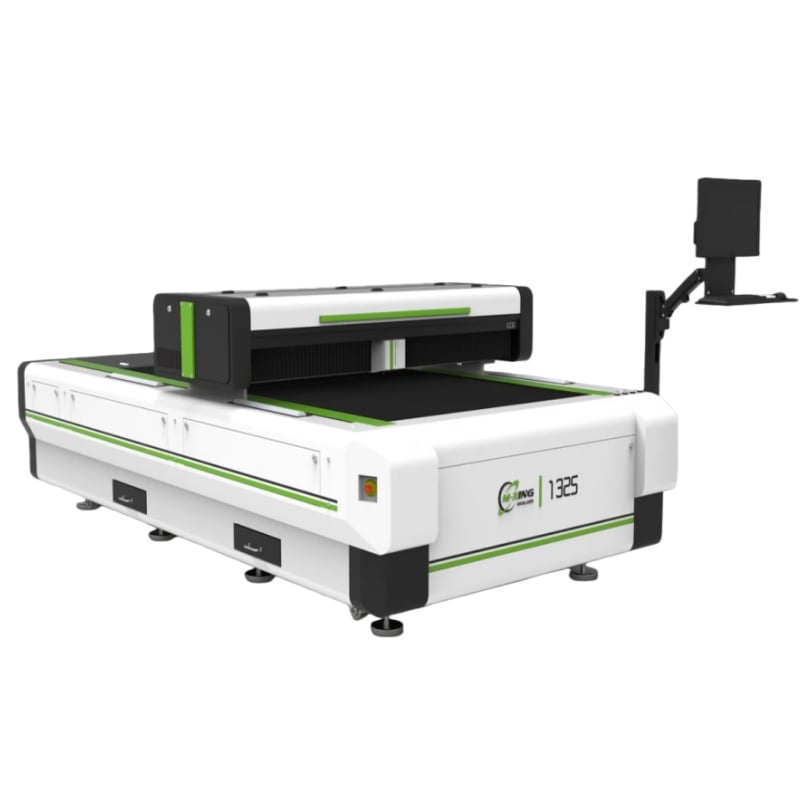
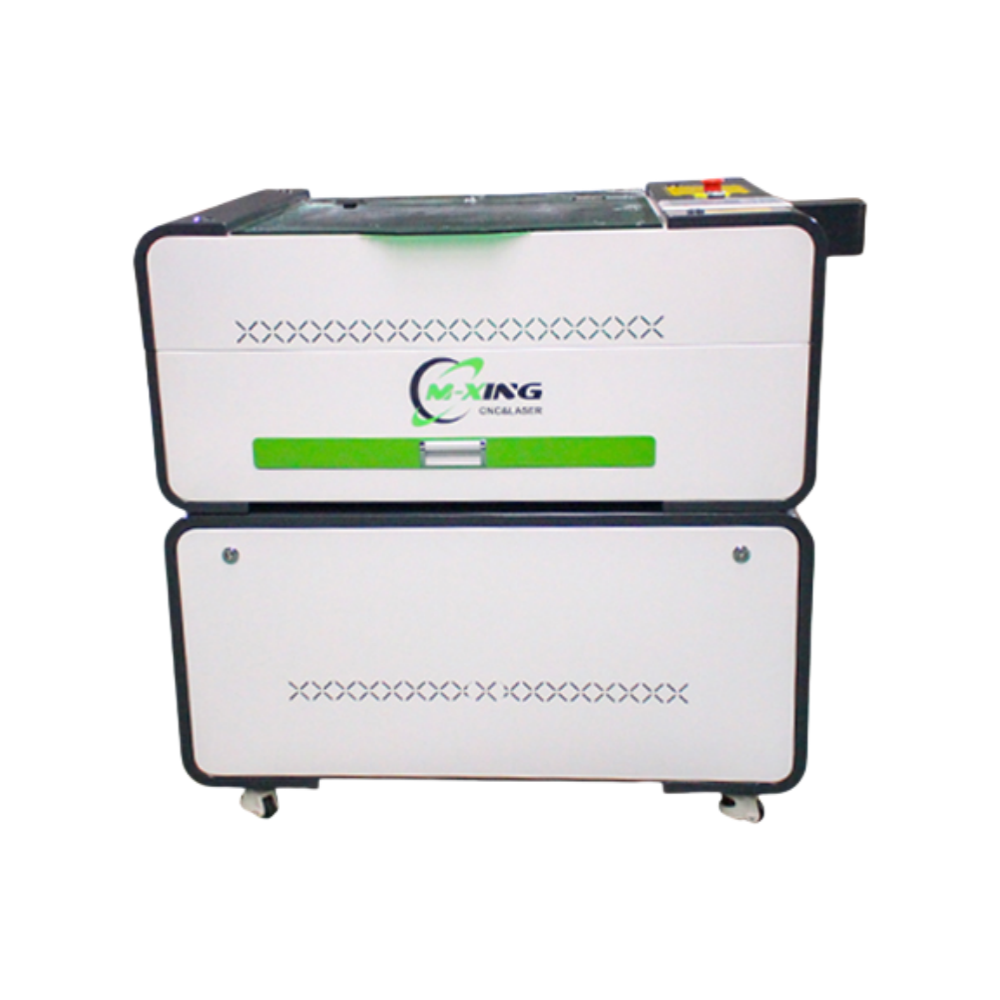
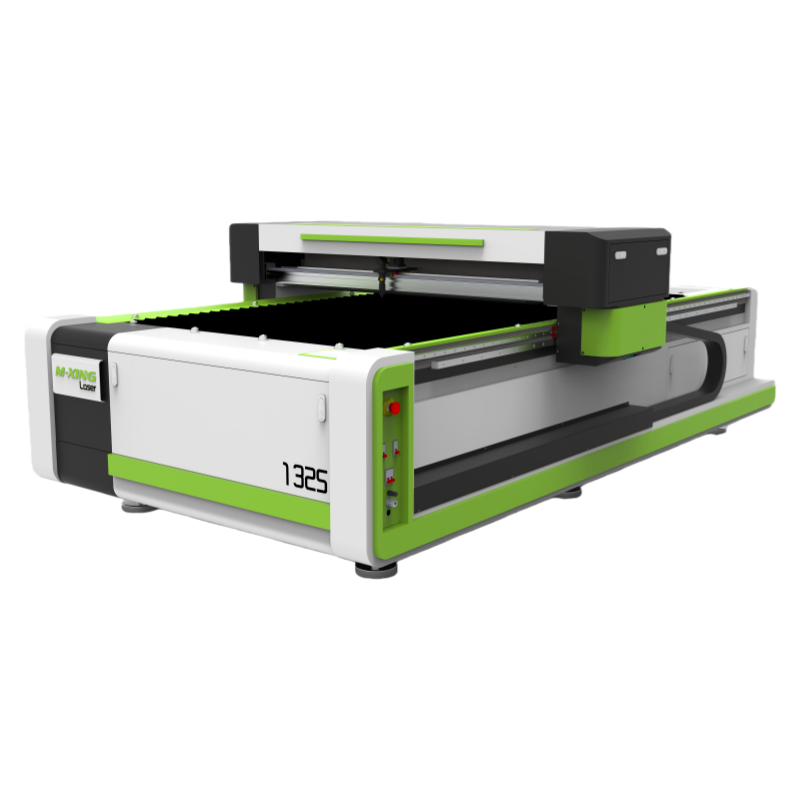
The bed size should be chosen from the largest blank, not from the average job. A shipping box blank is large and awkward, and a bed that cannot take it flat forces the design into panels and taped joints. The 1325 and 1610 formats suit full box blanks and display packaging; a 6090 format suits retail cartons, inserts and prototype work where the parts are small.
Two options are worth considering for packaging specifically. Camera positioning allows a cut path to be registered to printed artwork, which is what makes a printed mockup credible and what makes short-run printed packaging possible at all. A double-head configuration improves throughput on repeated carton sets without adding tooling, which is the packaging equivalent of a small die run.
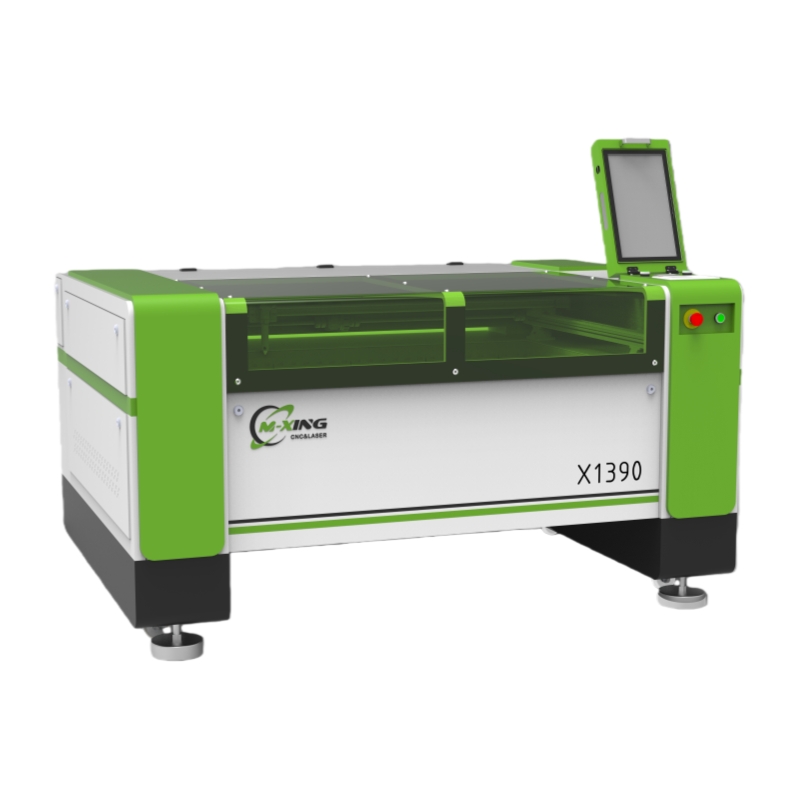
Power configurations across the 6090, 1390 and 1610 platforms are offered in the 100W to 150W range, and for board that range is more than sufficient; the constraint on packaging throughput is the bed and the motion system, not the tube. What does need attention is extraction sized for paper dust and a fire-safe operating routine, because those two determine whether the machine can run board all day without incident.
Cardboard rewards speed and punishes assumption. It is the fastest material on the bed and the one most likely to be on fire twenty minutes after the job ends.
The working rules are short. Identify the board and the flute direction before nesting, measure kerf on the actual sheet and compensate every fit feature, keep energy low and speed high so the edge stays narrow and clean, confirm any coating before it goes near the optics, treat laser scoring as a mockup tool rather than a production crease, and never leave a board job unattended.
Used that way, the same machine that cuts acrylic, MDF and fabric can turn a print file into a physical pack the same day, which is exactly the capability that short-run and custom packaging work is sold on.
 Hot News
2026-02-05
2026-02-03
2025-12-01

Mingxing Laser is a leading China-based laser machine manufacturer offering CO2 laser cutters, fiber laser cutting machines, CNC routers, laser welders & marking machines. OEM/ODM custom solutions available. Get a quote today!
- Company Headquarters: Room 1303, Building 4, UnitedFortune Plaza, High-tech Zone, Jinan City, Shandong Province, China
- Manufacturing Plant: No. 18, Yinhe Road, Jibei Street, Jiyang District, Jinan City, Shandong Province, China
Copyright © 2026 Century Mingxing (jinan) Intelligent Technology Co., Ltd. All rights reserved. Privacy Policy

 EN