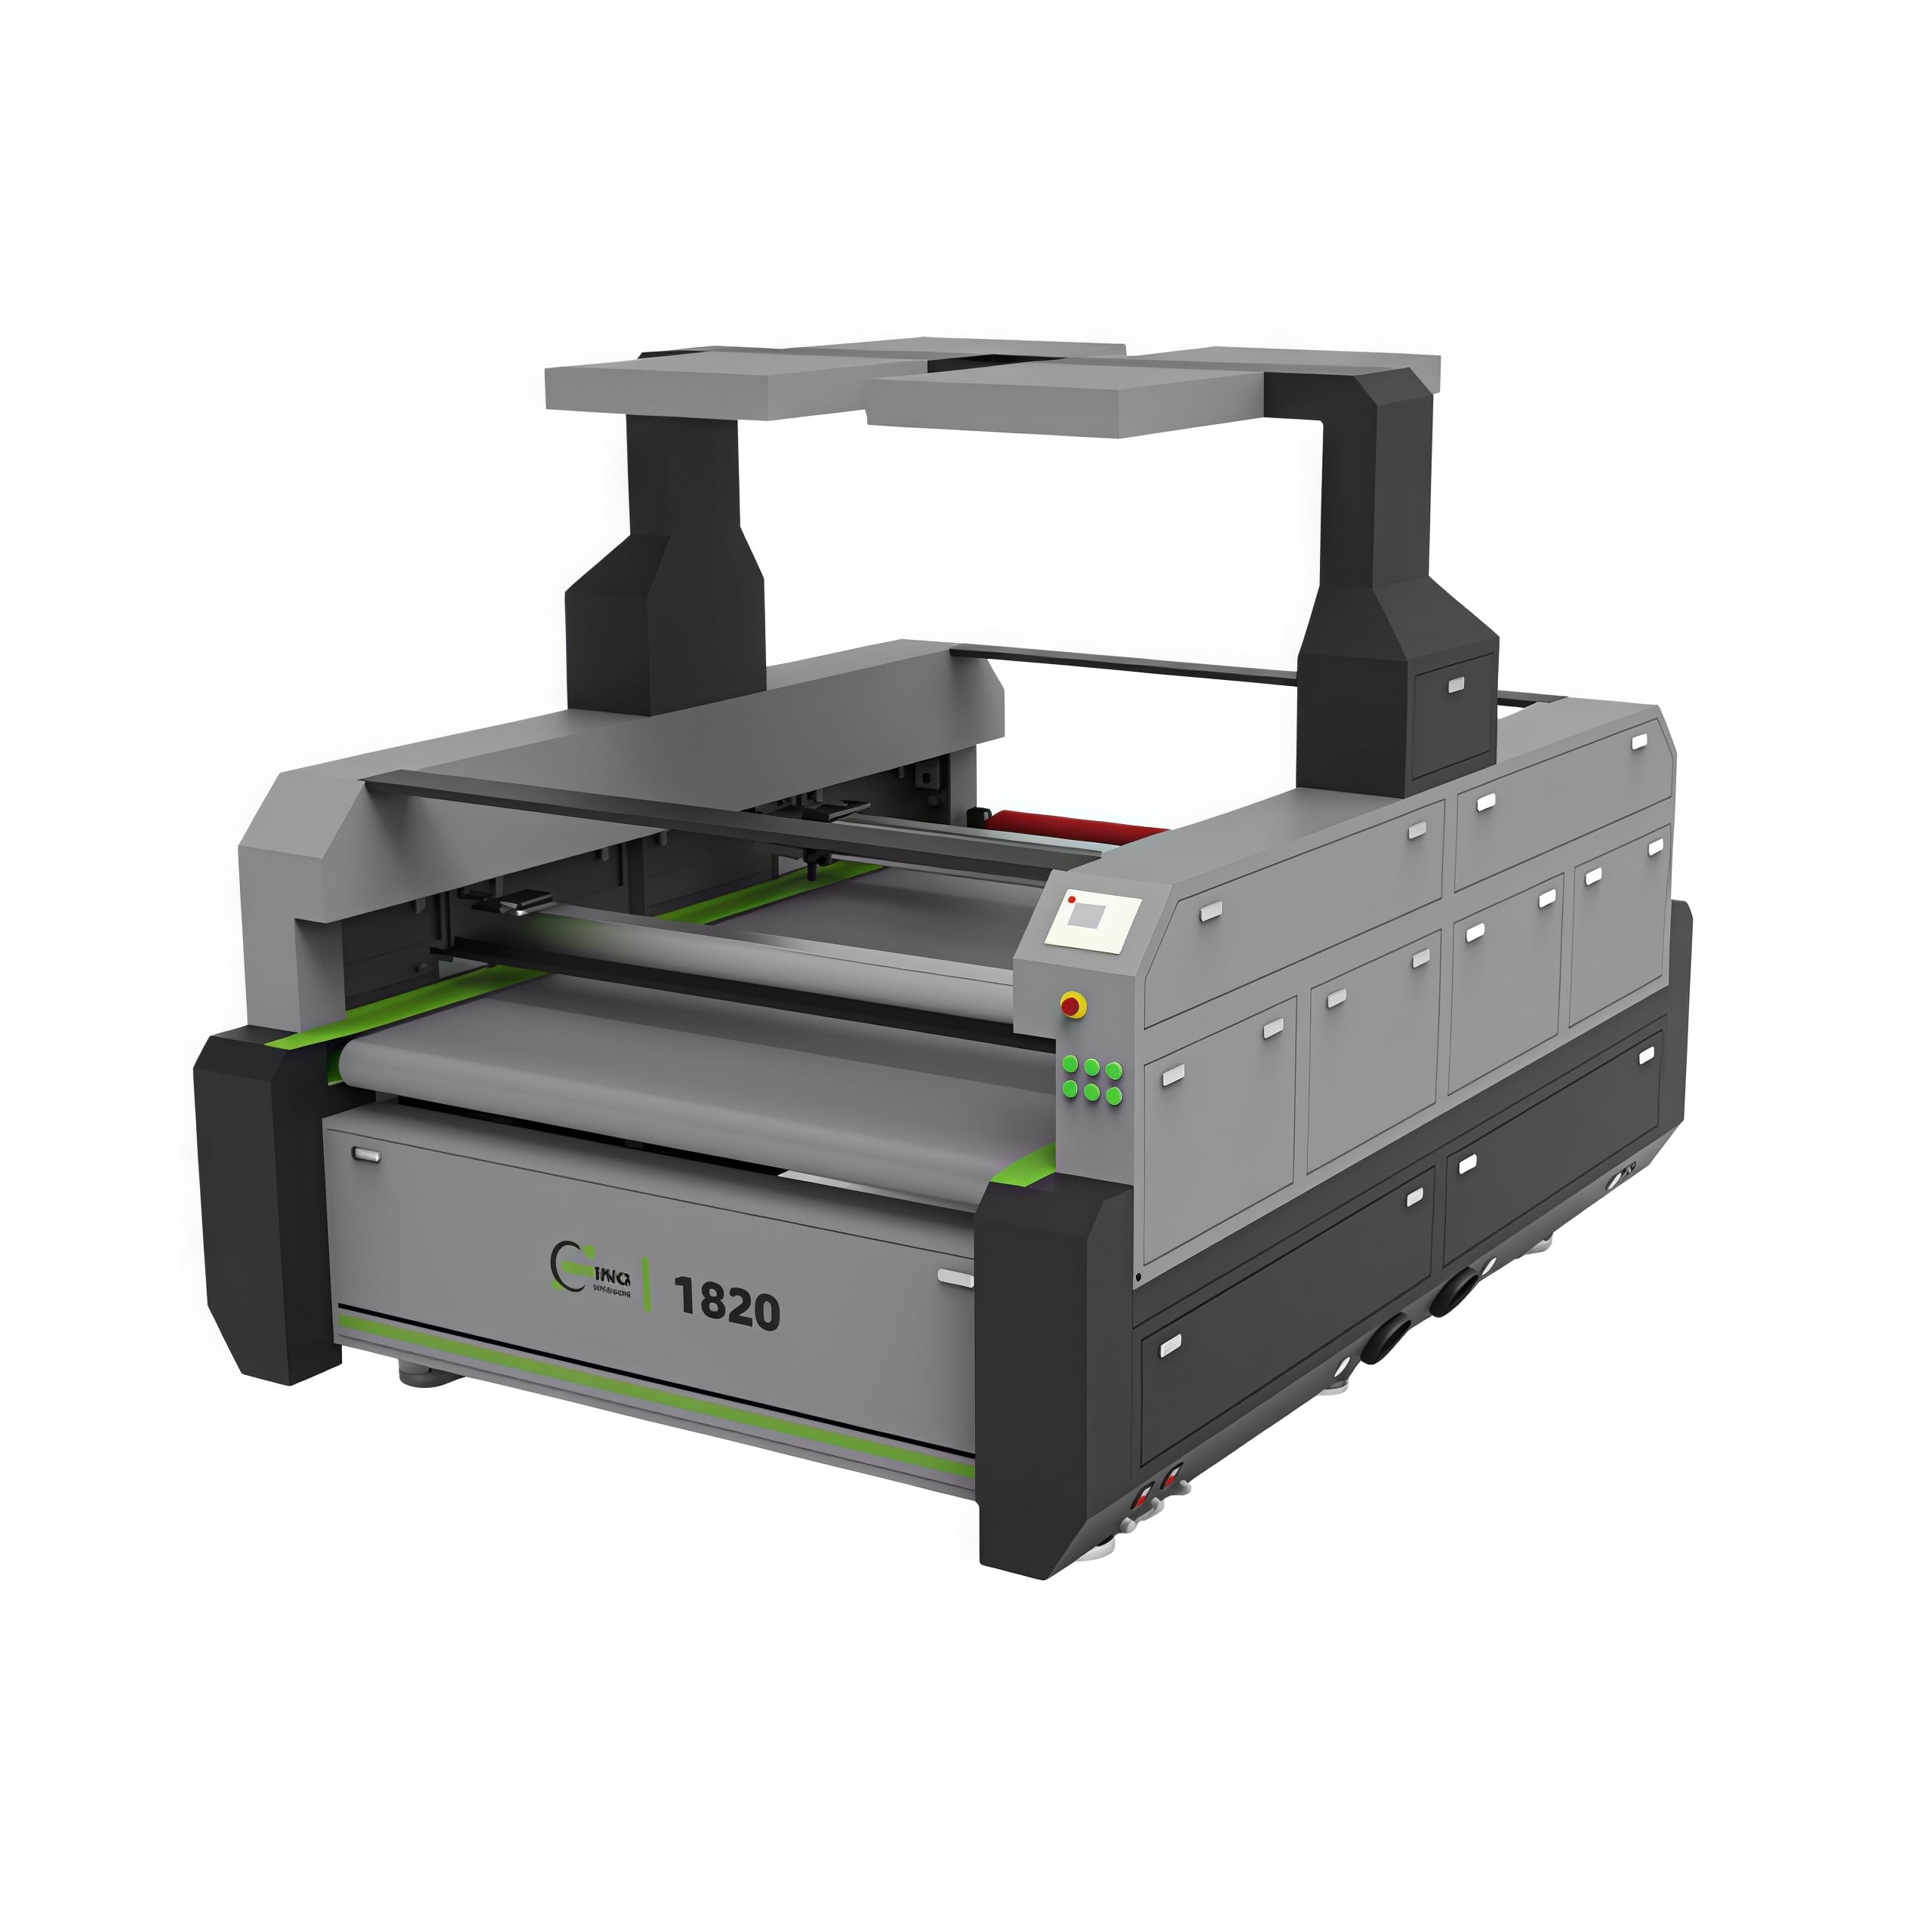
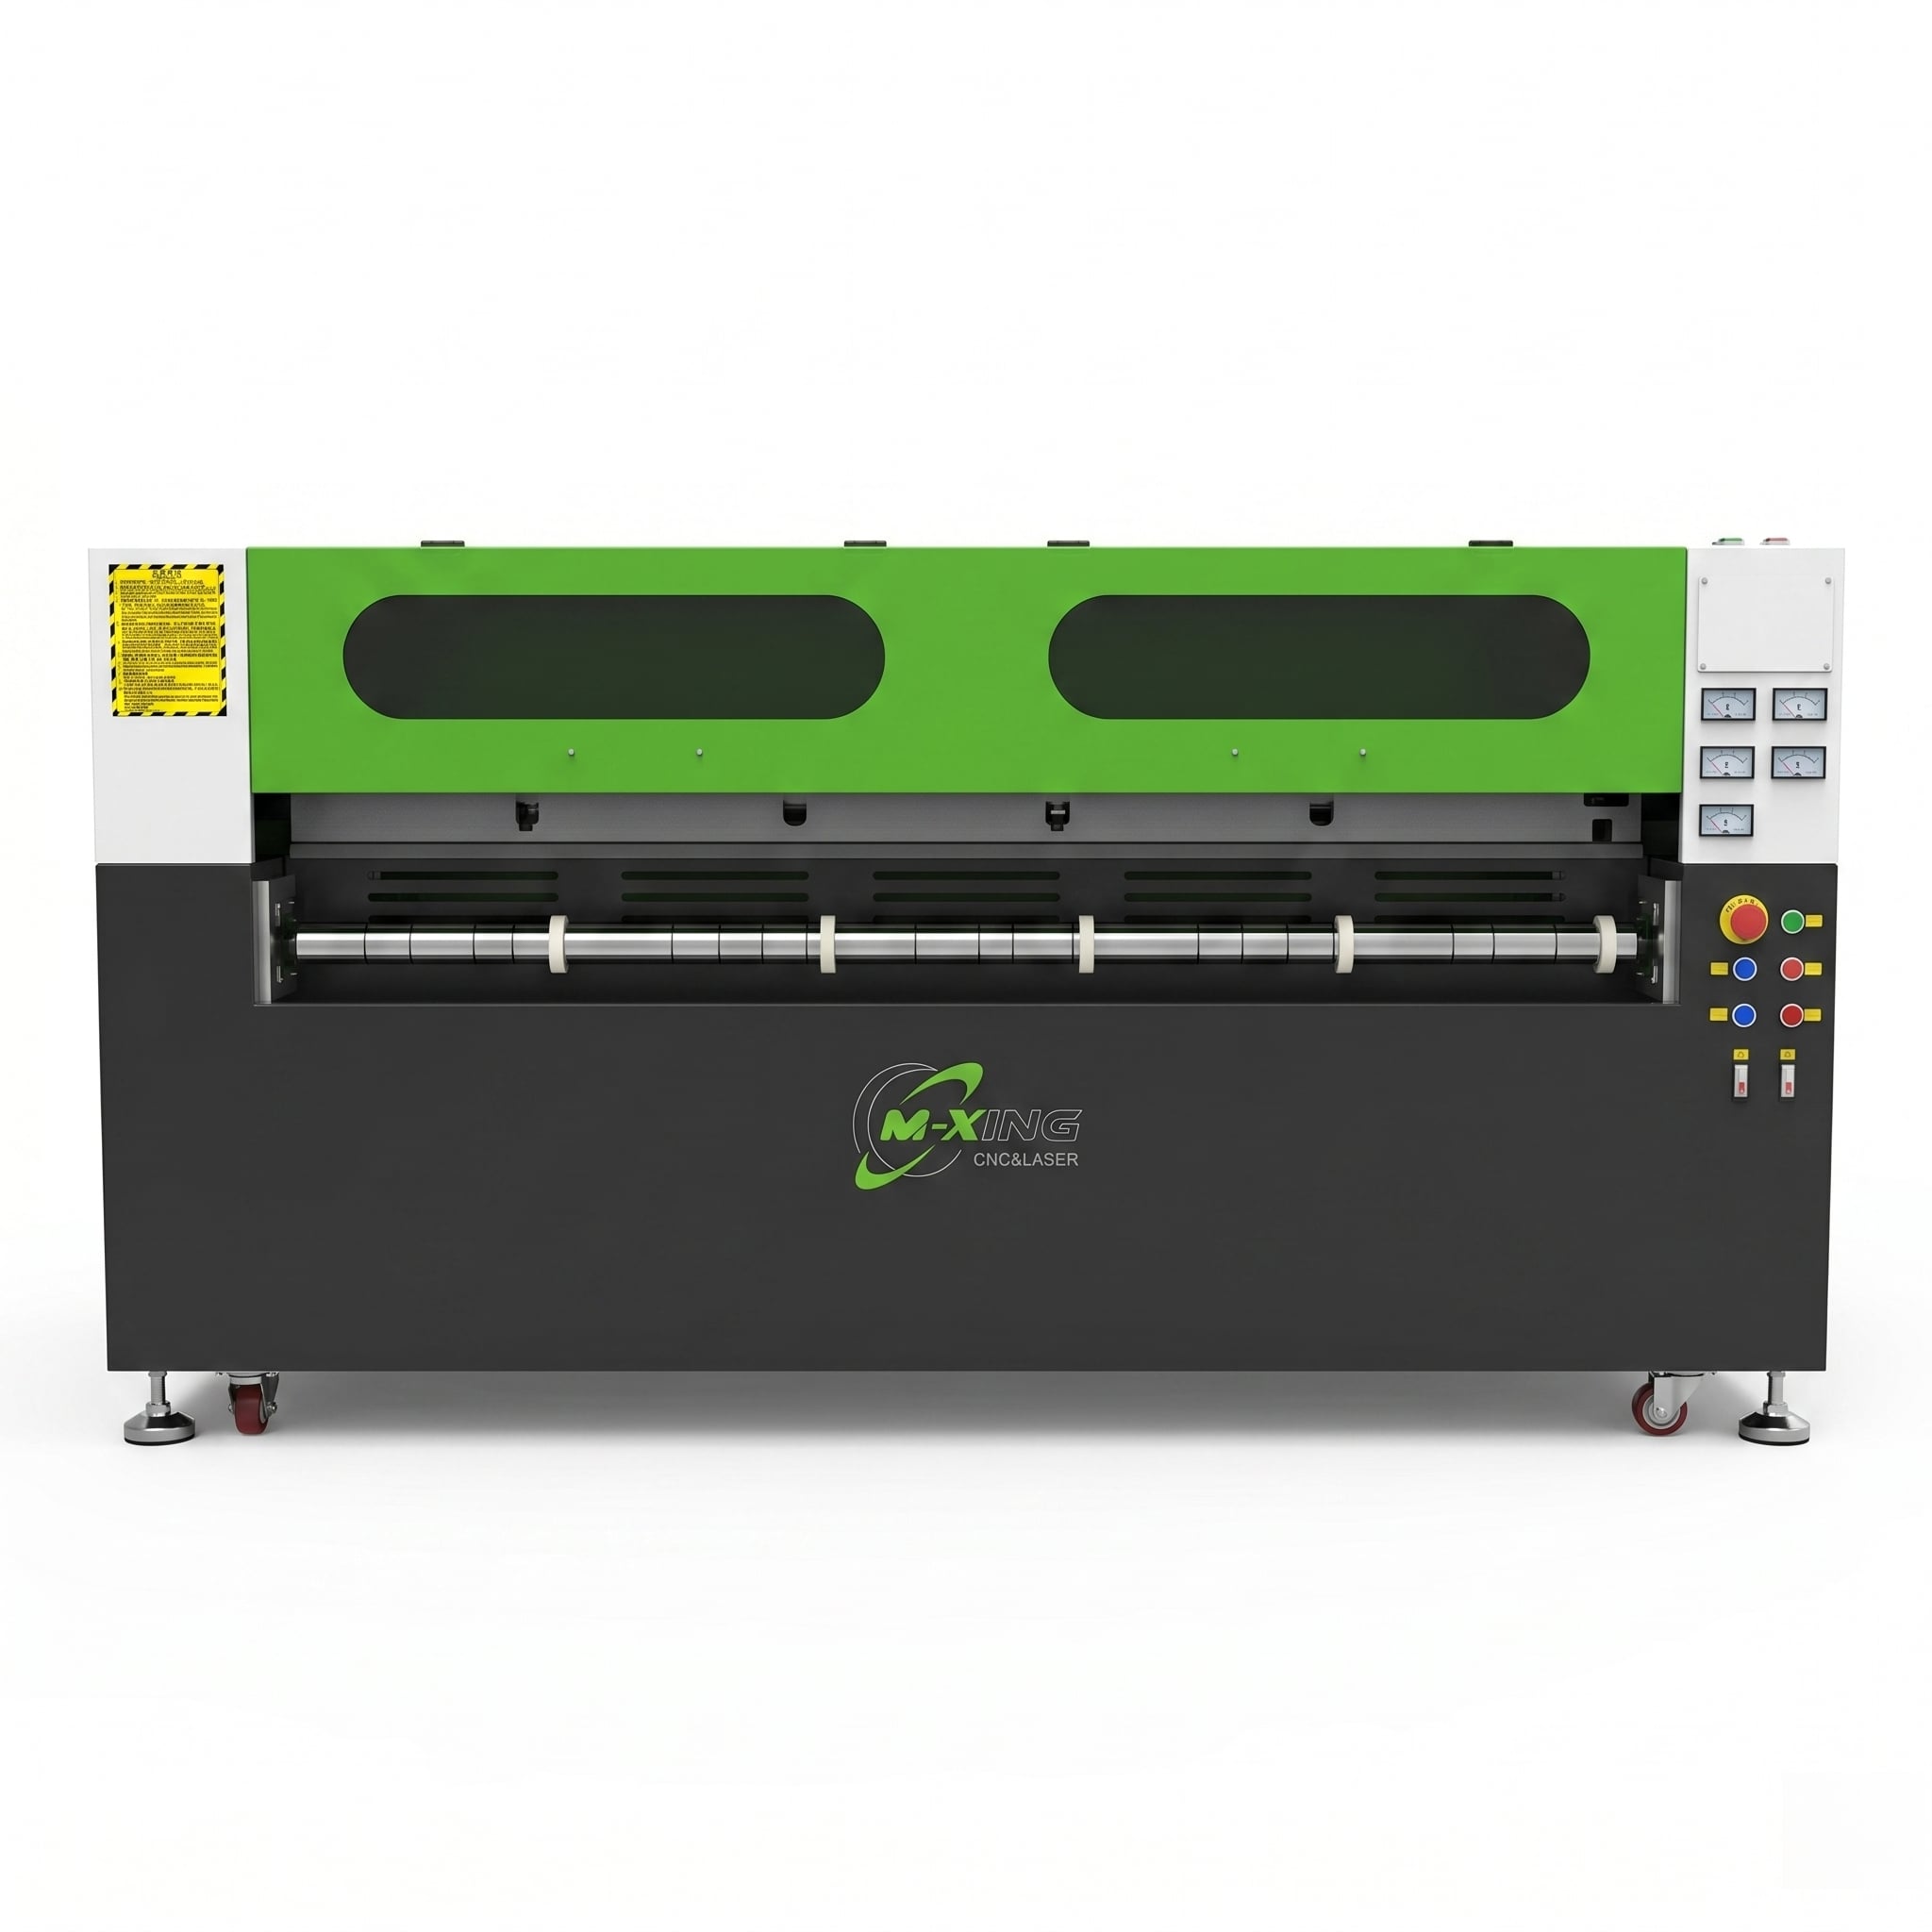
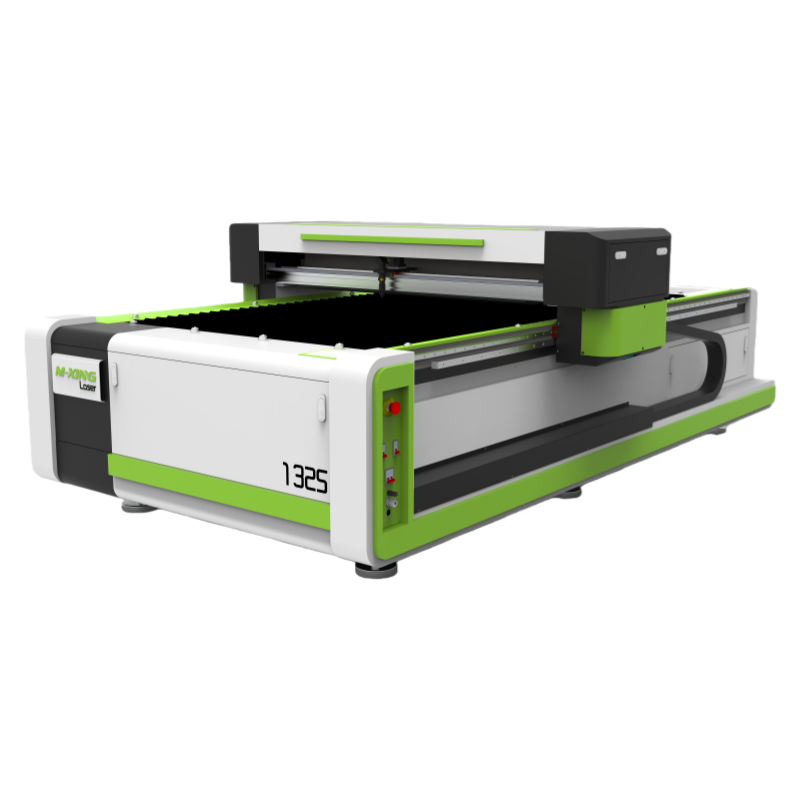
When operators talk about “good acrylic edges,” they do not always mean the same thing. Some want a glossy, flame-polished look for display pieces. Others care more about tight geometry on small slots, tabs, or engraved details. CO2 laser cutting for acrylic crafts works well because it can give you both clean separation and a finished-looking edge, but only if you decide early what matters more: visual polish, dimensional accuracy, or cycle time.
That decision changes how you run the job. A slower cut may leave a smoother edge on clear cast acrylic, but it can also increase heat buildup on delicate shapes. A faster pass may protect detail in fine ornaments, yet leave a slightly duller sidewall. If you skip this first check, you end up chasing settings that solve one problem and create another.
A practical way to frame the job before cutting:
A lot of edge-quality complaints start with the material, not the laser. Cast acrylic and extruded acrylic do not behave the same way under a CO2 beam. In day-to-day shop work, cast acrylic is generally the easier path when the goal is a clearer, more polished edge for craft items, decorative panels, and custom signage. Extruded acrylic can still be cut, but operators often see more sensitivity to heat, a different melt behavior, and less forgiving edge appearance on visible parts.
Before you blame power, speed, or focus, verify these basics on the sheet itself or on its supplier label:
If the finish looks inconsistent only in certain areas, sheet variation is often the first suspect. That is especially common on large pieces where one corner cuts beautifully and another corner starts to haze or show more melt.
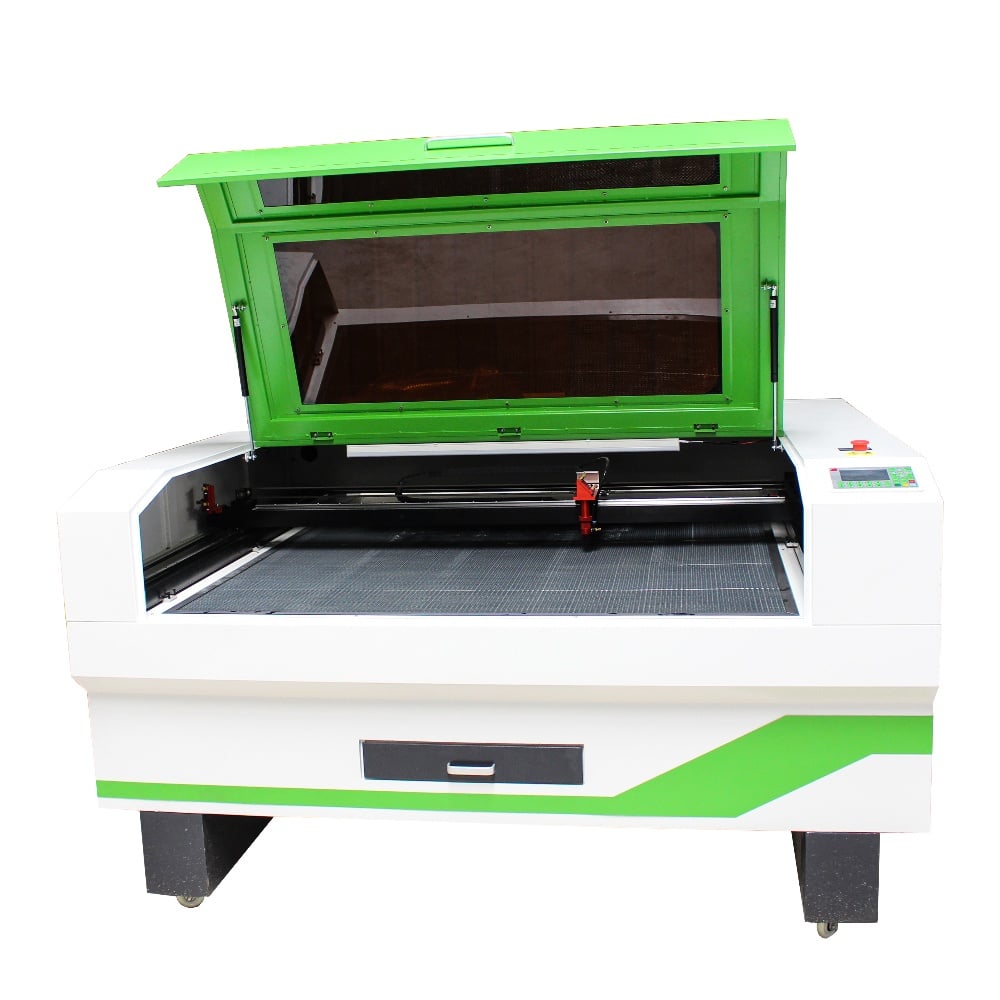
Operators often treat focus like a one-time machine setup item. For acrylic, it is one of the cleanest levers you have for edge quality. A focus point that is slightly off can give you more taper, rougher lower edges, or unnecessary frosting. On thicker acrylic, even when the top surface looks acceptable, the sidewall can tell you the beam waist is in the wrong place.
What to watch for during test cuts:
Run small test shapes, not just straight lines. A straight cut can hide problems that show up immediately in tight turns, text cutouts, or hanging holes.
Clean acrylic edges come from controlled melting and clean material removal, not raw power. Too much power with low speed tends to widen the heat-affected zone, soften detail, and leave edges that look heavier than they should. Too little power with high speed can leave incomplete separation, drag marks, or a frosted finish that defeats the whole point of laser cutting acrylic in the first place.
A simple shop-floor checklist helps:
One common mistake is optimizing for “fast enough” on the first successful cut. That usually leaves money on the table later in rework, edge polishing, and scrap from small cosmetic rejects.
Edge quality in acrylic is closely tied to what happens around the cut, not just inside it. Stable airflow helps clear vapor and debris away from the kerf. Poor extraction lets residue linger, which can dull the edge, increase surface deposits, and make transparent acrylic look dirtier than it really is.
The operator checks here are straightforward:
This matters more on craft work than many operators expect. Decorative acrylic pieces are judged at arm’s length and up close. A barely visible haze during production becomes obvious once the part is cleaned, lit, and packaged.
Some edge problems are really path-planning problems. Small inside corners, dense lettering, narrow bridges, and clustered cut lines trap heat. The machine may be running fine, yet the design itself is forcing too much energy into one local area. That is when you see corner rounding, tiny melt beads, or sections that lose sharpness even though long straight edges look polished.
For acrylic crafts, these are the design checks worth making before production:
| Design condition | Likely edge issue | Useful adjustment |
|---|---|---|
| Very tight inside corners | Heat marks or rounded corner detail | Reduce dwell, review path order, test speed changes |
| Thin bridges and narrow islands | Overheating or distortion | Add spacing where possible, shorten local exposure |
| Dense text or ornament patterns | Edge dulling in clustered areas | Sequence cuts to distribute heat more evenly |
When people ask why CO2 laser cutting for acrylic crafts gives better-looking parts, this is a big piece of the answer: the process can produce excellent edges, but it rewards drawings that respect heat flow and kerf behavior.
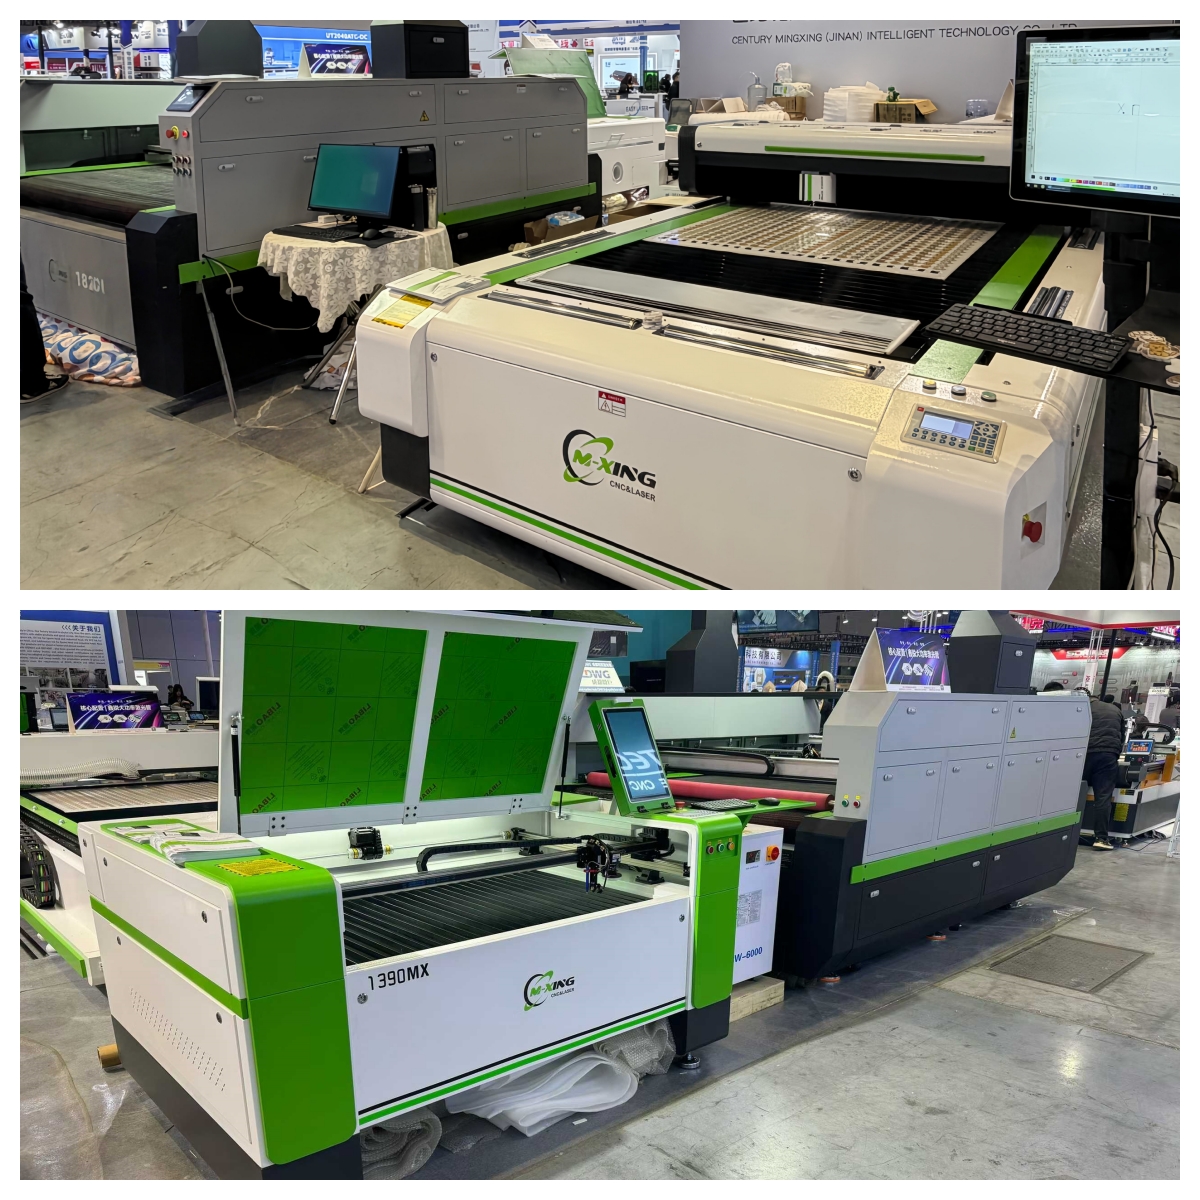
Acrylic crafts are often sold on appearance, so operators need to think beyond the cut face. Dirty film, partially lifted masking, or adhesive residue near the cut line can affect the visual result and create more cleanup than the job should require. If the masking chars too easily or lifts during cutting, inspect whether the issue follows the film type or storage condition rather than assuming the machine suddenly lost quality.
This is also where handling discipline matters. Fingerprints, dust, and small scratches become much more obvious on glossy acrylic once the edge comes out clean and polished. Better edge quality raises the visual standard for everything around it.
If a machine that normally cuts acrylic well starts producing inconsistent edges, contamination in the optical path is one of the first things to inspect. Slight lens contamination or mirror issues can show up as weaker cut quality, extra heat spread, or cuts that vary across the bed. Operators sometimes compensate by increasing power, which can make edge finish worse and hide the actual cause for a while.
Good troubleshooting order saves time:
That order prevents a maintenance problem from turning into a settings problem.
Acrylic can be deceptive. The top edge often looks better than the rest of the cut. If you only inspect the visible upper face, you can miss taper, micro-chipping at the exit side, or roughness that shows once the part is assembled against light. For hanging decor, layered signage, LED-lit pieces, and transparent display elements, that lower edge matters.
A quick acceptance check after test cutting should include:
That last point matters more than bench inspection. Acrylic edges that look fine under ambient shop light can show defects immediately in retail lighting or on illuminated craft pieces.
The real advantage of CO2 laser processing is not only that it can produce a clean acrylic edge. It is that the result can be repeated across custom names, signs, ornaments, tags, display inserts, and other small-batch craft work without starting from zero every time. Once a setup is proven on a given material type and thickness, record what actually controlled the result: focus reference, power and speed combination, airflow condition, masking type, and any design notes about dense geometry.
That documentation reduces waste far more effectively than relying on memory, especially when multiple operators share the same machine or when job files return months later.
If the goal is less post-processing and more reliable acrylic output, use a disciplined sequence. Confirm the acrylic type first. Check the sheet condition and masking. Verify optics, focus, airflow, and a small sample cut. Then evaluate the edge on actual part geometry, not just a test line. Once the cut face is clean on both visible and exit sides, lock the settings into a job sheet before full production.
That is where CO2 laser cutting earns its place in acrylic crafts. The machine can deliver polished-looking edges and precise contours, but the best results come from treating edge quality as a controlled process, not a lucky byproduct of getting through the sheet.
 Hot News
2026-02-05
2026-02-03
2025-12-01

Mingxing Laser is a leading China-based laser machine manufacturer offering CO2 laser cutters, fiber laser cutting machines, CNC routers, laser welders & marking machines. OEM/ODM custom solutions available. Get a quote today!
- Company Headquarters: Room 1303, Building 4, UnitedFortune Plaza, High-tech Zone, Jinan City, Shandong Province, China
- Manufacturing Plant: No. 18, Yinhe Road, Jibei Street, Jiyang District, Jinan City, Shandong Province, China
Copyright © 2026 Century Mingxing (jinan) Intelligent Technology Co., Ltd. All rights reserved. Privacy Policy

 EN
EN